
Installing New Tiles on Old: Expert Preparation Guide
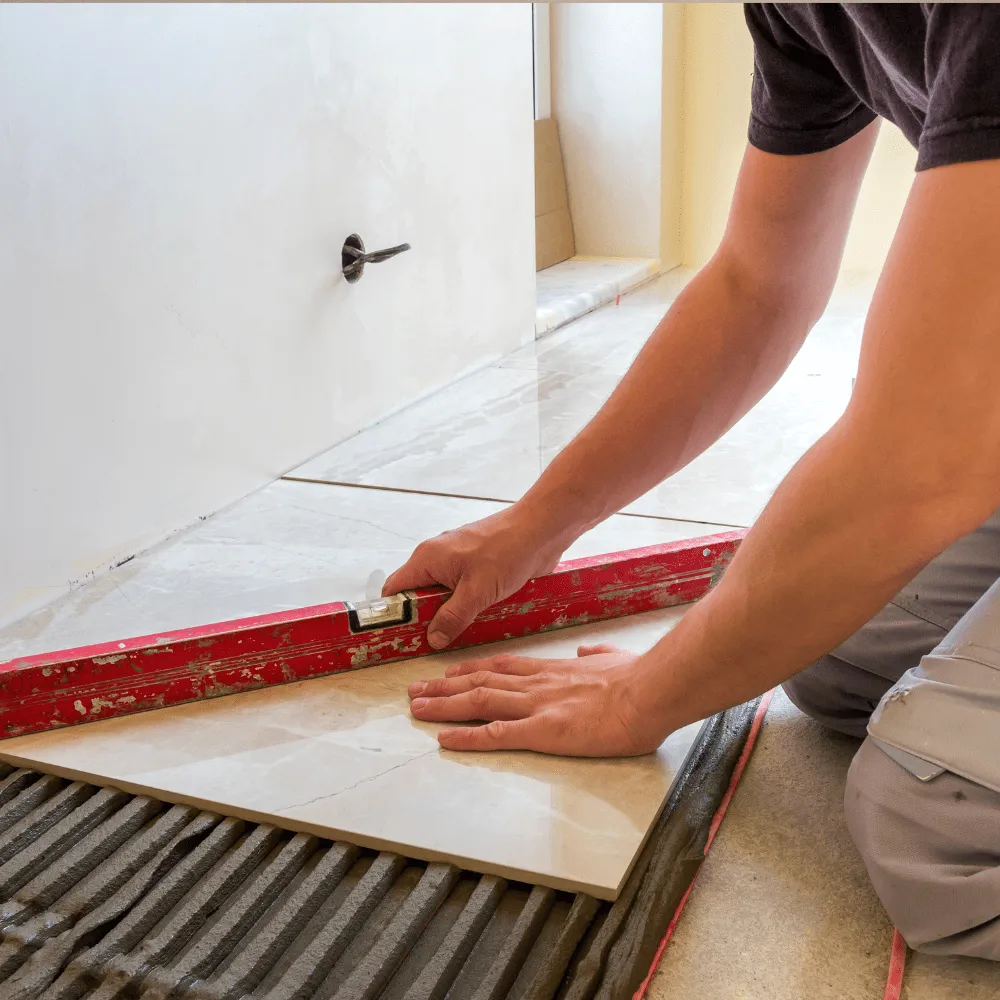
Tile Over Tile Installation Explained
Installing new tiles on top of old tiles can be a cost-effective and time-saving way to update the look of a tiled surface. However, it is important to carefully assess the condition of the old tiles and the underlying substrate before proceeding with the installation.
Here are a few steps to follow when installing new tiles on top of old tiles:
-
Inspect the old tiles: The old tiles should be inspected to ensure that they are in good condition and that they are well-bonded to the substrate. Any tiles that are loose, damaged, or missing should be removed and replaced.
-
Clean the old tiles: The old tiles should be thoroughly cleaned to remove any dirt, dust, or debris. A scrub brush or a heavy-duty cleaner may be needed to remove any stains or discoloration.
-
Repair any imperfections: Any cracks, chips, or other imperfections in the old tiles should be repaired with a suitable filler or patching compound. The repair material should be allowed to dry completely before the new tiles are installed.
-
Install a moisture barrier: If the old tiles are prone to moisture or if the new tiles will be installed in a damp or wet area, it may be necessary to install a moisture barrier to protect the new tiles and adhesive from moisture damage.
-
Install the new tiles: The new tiles can be installed using the appropriate adhesive and techniques, following the manufacturer’s instructions and industry standards. The tiles should be spaced evenly and aligned straight to create a seamless and visually appealing finish.
By carefully preparing the old tiles and installing the new tiles correctly, you can create a durable and attractive tiled surface.