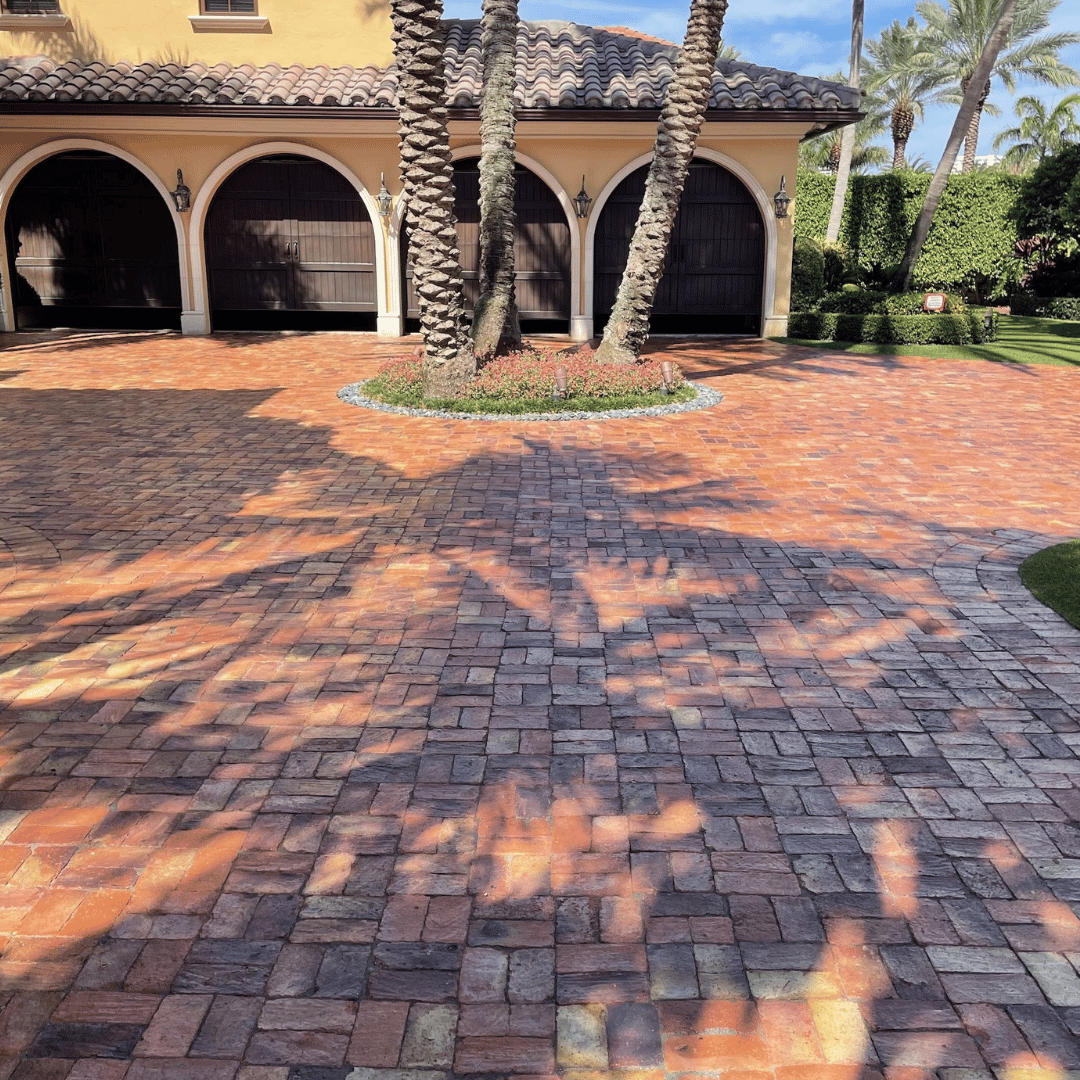
Brick Driveway Paving: Durability Meets Style
Introduction:
A driveway is more than just a pathway to your home; it’s a statement of style and functionality. Brick driveways, with their classic appeal and durability, have become a popular choice for homeowners. In this guide, we’ll walk you through the steps of laying a brick driveway, addressing common questions and considerations, including the cost and installation process. Whether you’re a DIY enthusiast or planning to hire professionals like Larrauris Constructions, this guide will provide valuable insights into creating a stunning and long-lasting brick driveway.
1. Planning and Design:
Before laying a single brick, planning your driveway is crucial. Consider the size, shape, and pattern of your driveway. Will it be a straightforward path, or do you prefer a unique design like herringbone or basketweave? Remember, the more intricate the pattern, the higher the brick driveway cost due to the complexity of the work involved.
2. Choosing Your Materials:
Selecting the right bricks is essential. For driveways, you need bricks that are specifically designed for ground load and are weather-resistant. Typically, driveway bricks or brick pavers are thicker and more durable than standard bricks.
3. Preparing the Ground:
Ground preparation is key to preventing future issues like sinking or spreading. Remove the top layer of soil to a depth that accommodates the brick and base layers. A standard depth is around 12 inches – 8 inches for the base layer and 4 inches for the sand and bricks.
4. Laying the Foundation:
A solid foundation is crucial for a durable brick driveway. Lay a base layer of crushed stone, which provides stability and drainage. Compact this layer and ensure it’s level.
5. Adding Sand Layer:
Over the base layer, add a layer of sand. This helps to set and lock the bricks in place. The sand layer should be around 1-2 inches thick. Again, ensure this layer is level and compact.
6. Laying the Bricks:
Now comes the satisfying part – laying the bricks. Start from one corner and work your way across. For patterns like herringbone, it’s important to maintain the angle and pattern consistency throughout. Use a rubber mallet to gently tap each brick into place, ensuring they are level with each other.
7. Cutting Bricks:
For edges and corners, you may need to cut bricks to fit. A brick splitter or a wet saw can be used for this purpose. Always wear safety goggles and gloves during this process.
8. Securing the Driveway:
Once all the bricks are laid, secure them by adding another layer of sand. This process, known as sand bedding, involves spreading sand over the driveway and sweeping it into the gaps between the bricks. This not only secures the bricks but also aids in drainage.
9. Final Compaction:
The final step is to compact the bricks once again to ensure they are snugly set into the sand layer. This can be done with a plate compactor.


